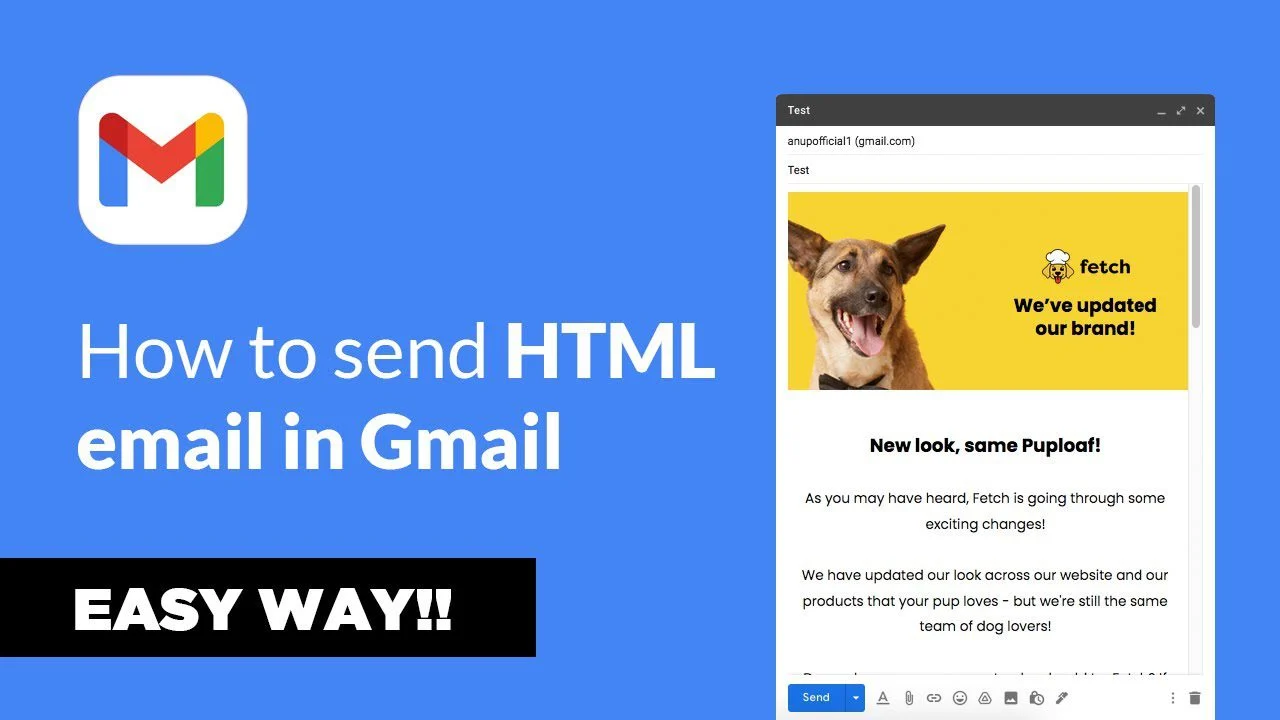
Email is still one of the most trusted ways to communicate online. Many people use Gmail every day for both personal and business messages. But simple text emails are not always enough. Sometimes, you need better design, colors, and structure. This is where HTML emails become useful.
HTML emails allow you to create messages that look more like web pages. You can add images, buttons, layouts, and styled text. This helps you present your message in a clear and attractive way. However, Gmail does not provide a direct option to write or paste raw HTML code inside the compose window. If you paste HTML code as it is, Gmail will only show the code, not the design.
Because of this limitation, users need to follow special methods to send HTML emails through Gmail. These methods help convert your code into a format Gmail can display correctly. Understanding how Gmail handles HTML is important before you start creating your email. It ensures your message looks right and reaches your audience without issues.
Why send HTML Gmail emails?
HTML emails offer many advantages over plain-text emails. The biggest benefit is better visual presentation. You can use colors, fonts, images, and layouts to make your email more engaging. This is helpful for marketing emails, newsletters, and business communication.
Another key reason is branding. With HTML emails, you can add logos, brand colors, and styled content. This makes your emails look professional and consistent. It also helps people recognize your brand easily.
HTML emails also improve readability. You can organize content using headings, columns, and buttons. This makes it easier for readers to scan your message and find important information quickly.
In addition, HTML emails allow you to include call-to-action buttons. These buttons guide users to take action, such as visiting a website or signing up for a service. This can increase engagement and results.
However, Gmail has some limits when working with HTML emails. Its editor is designed for simple messages and does not support advanced layouts or direct HTML editing. Also, not all HTML features work in email clients. Elements like JavaScript, forms, or complex animations are often blocked.
Even with these limits, HTML emails remain a powerful tool. When used correctly, they help you create clean, attractive, and effective messages that stand out in crowded inboxes.
Creating an HTML email in Gmail
Gmail does not offer a built-in option to write or upload raw HTML code directly. Its editor is designed for simple formatting like bold text, links, and images. Because of this, users need to follow specific methods to send HTML emails properly. These methods allow Gmail to display your design as a fully formatted message instead of showing raw code.
Each method has its own use case. Some are quick and easy, while others give you more control. Below are three proven ways to create and send HTML emails in Gmail.
Method #1 – Copy-paste rendered HTML into Gmail’s compose window
This is the easiest and most beginner-friendly method. It works by copying the visual output of your HTML email instead of the code itself. Gmail can understand this rendered version and display it correctly.
Start by creating your HTML email using any editor. This can be a simple code editor or an email design tool. Once your HTML is ready, open it in a web browser. You will now see the fully styled version of your email, just like a real message.
Next, select the entire content of the rendered page. Make sure you highlight everything, including images and text. Then copy it using your keyboard or right-click menu.
Now open Gmail and click on “Compose.” Paste the copied content directly into the email body. Gmail will keep most of the styling, such as fonts, colors, spacing, and images.
After pasting, carefully review your email. Check for any broken layouts or missing elements. Sometimes, small styling issues may appear depending on how the HTML was written. Fix any minor issues using Gmail’s formatting tools if needed.
This method works well for simple designs. It is fast and does not require technical skills. However, it has some limits. Complex layouts or advanced styles may not transfer perfectly. Also, you must make sure that all images are hosted online, or they will not display.
Method #2 – Make use of Chrome’s Developer Tools
This method gives you more control over your HTML email. It allows you to insert HTML code directly into Gmail using your browser’s built-in tools. It may sound complex at first, but once you try it, the steps become clear.
Start by opening Gmail in the Google Chrome browser. Click on “Compose” to open a new email window. You will see a blank message area where your content will go.
Right-click inside the message body and choose “Inspect.” This will open Chrome’s Developer Tools panel. You will see the HTML structure of the Gmail compose window.
In the Developer Tools panel, locate the section that represents the email body. It is usually a <div> element where the email content is stored. Right-click on this element and choose “Edit as HTML.”
Now delete any existing content inside that section. Then paste your full HTML email code into it. Make sure your code is clean and properly structured.
Once you paste the code, click outside the editing area. Gmail will instantly render your HTML email inside the compose window. You will now see your design exactly as intended.
Before sending, review your email carefully. Check images, links, and formatting. Also, avoid switching back to Gmail’s normal editing view too much, as it may break some styles.
This method is powerful because it allows you to use your original HTML code without relying on copy-paste tricks. It works well for more complex email designs. However, it requires some basic understanding of HTML and browser tools. It may also feel technical for beginners.
Method #3 – Make use of Chrome extensions
If you want a smoother and more user-friendly experience, Chrome extensions can help. These tools are designed to make sending HTML emails in Gmail easier and faster.
There are several extensions available that allow you to upload or paste HTML code directly into Gmail. Once installed, they usually add a new option inside the Gmail compose window.
To use this method, first install a trusted HTML email extension from the Chrome Web Store. After installation, refresh your Gmail page. Open a new email by clicking “Compose.”
You will now see an option provided by the extension, such as “Insert HTML” or “Import HTML.” Click on it. A small window will appear where you can paste your HTML code.
Paste your full HTML email into the provided field. Then confirm or insert it into the email. The extension will render your design inside Gmail automatically.
This method is very convenient. It saves time and reduces the risk of errors. You do not need to use Developer Tools or manually adjust anything. It is especially useful for marketers and regular email senders.
However, you should always choose a reliable extension. Some tools may not be updated regularly or may not support all HTML features. Also, avoid giving unnecessary permissions when installing extensions.
Checklist for HTML email creation in Gmail

Creating an HTML email is not just about design. You also need to follow certain rules to ensure your email works properly in Gmail. Ignoring these rules can cause broken layouts, missing images, or poor display.
Below are some important points you should always check before sending your HTML email.
Images need to be hosted online and be publicly available
Images are an important part of most HTML emails. They help make your message more attractive and engaging. However, Gmail cannot display images stored on your computer.
All images must be hosted on a public server. This means they should be uploaded to a website, image hosting service, or cloud storage that allows public access. Each image should have a direct URL.
When writing your HTML code, use the full image URL in the <img> tag. For example, instead of linking to a local file, you should use a web link.
If your images are not publicly available, they will not load in the email. This can make your design look broken or incomplete. Always test your email before sending to make sure all images display correctly.
Also, keep image sizes optimized. Large images can slow down loading time and may not display properly on all devices. Use compressed images and proper dimensions for best results.
External style sheets don’t work
In regular web development, it is common to use external CSS files. These files control the design and layout of a webpage. However, this approach does not work in Gmail.
Gmail blocks external style sheets for security reasons. If your HTML email depends on an external CSS file, the styles will not load. This will cause your email to lose its design and look plain.
To fix this, you must use inline CSS. Inline CSS means adding styles directly inside each HTML element. For example, instead of using a separate file, you apply styles within the tag itself.
This may seem like extra work, but it ensures that your email displays correctly. Inline styles are widely supported across email clients, including Gmail.
You can also use internal styles within the <style> tag, but support may vary. Inline CSS remains the safest option for consistent results.
Web fonts can’t be used
Fonts play a big role in design, but Gmail has strict limits when it comes to custom fonts. Most web fonts, such as those from online font libraries, are not supported.
If you try to use a web font, Gmail will replace it with a default font. This can change the look of your email and affect your design.
To avoid this issue, use web-safe fonts. These are fonts that are supported across most devices and email clients. Common examples include Arial, Times New Roman, Verdana, and Georgia.
Using web-safe fonts ensures that your email looks consistent for all readers. It also improves readability and reduces display problems.
If you still want to use custom fonts, always provide a fallback font in your code. This way, if the custom font does not load, Gmail will use the backup font instead.
Coding an HTML email from scratch vs using an HTML email editor
When creating HTML emails for Gmail, you have two main options. You can either code the email from scratch or use an HTML email editor. Each approach has its own strengths and challenges. The right choice depends on your skills, time, and goals.
Coding an HTML email from scratch
Coding an email from scratch gives you full control over the design and structure. You can build everything exactly the way you want. This includes layout, spacing, colors, and content placement.
Most HTML emails are built using table-based layouts. This is different from modern website design. Tables are still used because they work better across email clients, including Gmail. You also need to use inline CSS for styling, as many email clients block external styles.
When coding from scratch, you must pay close attention to details. Even small mistakes can break your layout. For example, missing a closing tag or using unsupported CSS can cause display issues. Testing becomes very important. You should always check how your email looks on different devices and screen sizes.
This method is best for developers or users with HTML and CSS knowledge. It is also useful when you need a custom design that editors cannot provide. However, it takes more time and effort. You also need to understand Gmail’s limitations, such as restricted CSS support and font issues.
Another challenge is maintaining consistency. If you send emails regularly, you may need to update or reuse templates. Managing code manually can become difficult over time.
Using an HTML email editor
HTML email editors are tools that help you create emails without writing code. Most editors use a drag-and-drop system. You can add text blocks, images, buttons, and columns by simply clicking and arranging elements.
These tools are designed to be user-friendly. You do not need technical skills to create a professional-looking email. Many editors also provide ready-made templates. You can choose a design and customize it based on your needs.
One big advantage is speed. You can create an email much faster compared to coding from scratch. Editors also handle many technical issues automatically. For example, they often apply inline CSS and ensure better compatibility with Gmail and other email clients.
Another benefit is built-in testing features. Some editors allow you to preview your email on different devices. This helps you catch problems before sending.
However, email editors also have some limits. You may not have full control over every design detail. Advanced customization can be difficult or sometimes not possible. Some tools may also add extra code, which can make your email heavier.
In addition, many high-quality editors require a paid plan. Free versions may have limited features or branding elements.
Which option should you choose?
If you have coding skills and need full control, building your email from scratch is a strong option. It allows you to create unique and flexible designs. But it requires time, testing, and technical knowledge.
If you want a faster and easier process, an HTML email editor is a better choice. It helps you create clean and responsive emails without dealing with complex code.
In many cases, a mix of both works best. You can design your email using an editor and then adjust the code if needed. This gives you both convenience and flexibility.
Wrapping things up
Sending HTML emails with Gmail may seem difficult at first, but it becomes simple once you understand the process. Gmail does not support direct HTML editing, so you need to use smart methods to make it work. Whether you copy a rendered design, use Developer Tools, or rely on extensions, each approach helps you turn your HTML into a working email.
At the same time, following the right practices is very important. Hosting images online, using inline styles, and choosing safe fonts all help your email display correctly. Skipping these steps can lead to broken layouts or missing content.
Choosing how you create your email also matters. Coding from scratch gives you full control, while email editors save time and effort. Both options can produce great results when used properly.
The goal is simple. You want your email to look clean, load fast, and deliver your message clearly. By using the right tools and following proven methods, you can create HTML emails in Gmail that are both professional and effective.
Further reading: